|
Click Here |

What to Expect During Dustless Hardwood Refinishing Process
Discover what to expect during dustless hardwood refinishing process from Gerber Hardwood Flooring
What to Expect During Dustless Hardwood Refinishing
You wanted to refinish your hardwood floors for months now; the only thing that stops you from taking the first step and calling us is the unknown and the perception of a huge mess in your home.
Discover what to expect during dustless hardwood refinishing process with Gerber Hardwood Flooring - clean, efficient, and stunning results for your floors!
Step 1: Booking an Estimate Visit or Virtual Consultation
Here is where you start, click below, so we can schedule your FREE, no-obligation Estimate visit to assess the condition of your floors, find out a bit about your lifestyle and decor preferences as well as the expectations on overall feel of the space once the project is completed and the maintenance and upkeep you will be comfortable with. Richard, or Adam will stop by to measure the area we will work on, answer your questions, and advise you on best finishing options, as well as explain exactly what to expect during the dustless hardwood refinishing process.
If you prefer to send over images of your flooring, so I can base the estimated cost on, without the visit to you home, this also can be done using the estimate request form below. Be sure to include the following images:
- overall picture of each space/room What to Expect During Dustless Hardwood Refinishing
- pictures of transitions from one room or area to another
- a close up images of any damaged areas, specifically any water damage, pet stains, peeling or faded finish, surface scratches, gouges and split boards
- a close up image of the floor board joints (v-groove)
- an image taken from inside the heat register, clearly showing the cross-section of the wood (this is to determine if your flooring is real wood or engineered.

Step 2: Estimate Emailed to You
A FREE, written, no-obligation Estimate, detailing the scope of work, as well as products that will be used is emailed to you as a PDF document and a live link directly to our estimate platform, within 24 hours.
Email explanation is included detailing the scheduling, best method of refinishing, stain and finish selection, as well as instructions on getting your space, your pets and yourself ready for the work process.
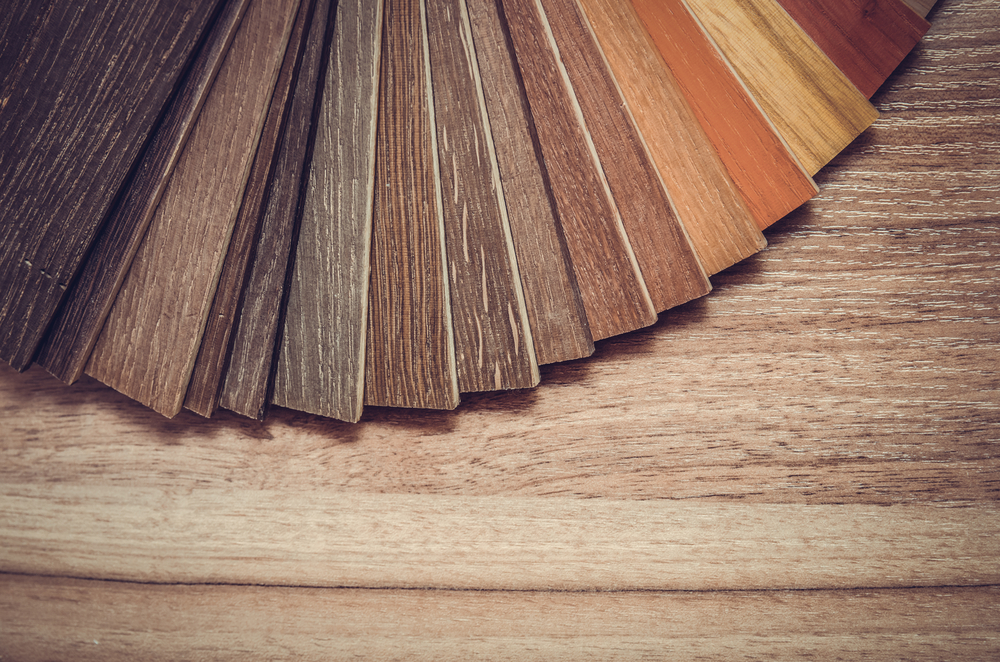
This is when you will also get to choose up to three stain colours from our Bona and DuraSeal Stain Collections, so those three will be applied to your flooring, once it is sanded, to give you an idea of the look of the flooring, once the project is finished.
|
Feel free to read our reviews from past Clients, describing this step, and the entire process from start to finish - here. |
 |
One you review the the info provided, and are ready to schedule the project date; you will be asked to sign the Estimate (and return to us), and forward the booking deposit.
The booking deposit is usually 25%; once this is processed, the start date of your project is reserved specifically for you. We do not book more than 2 projects per week and they never start on the same day.
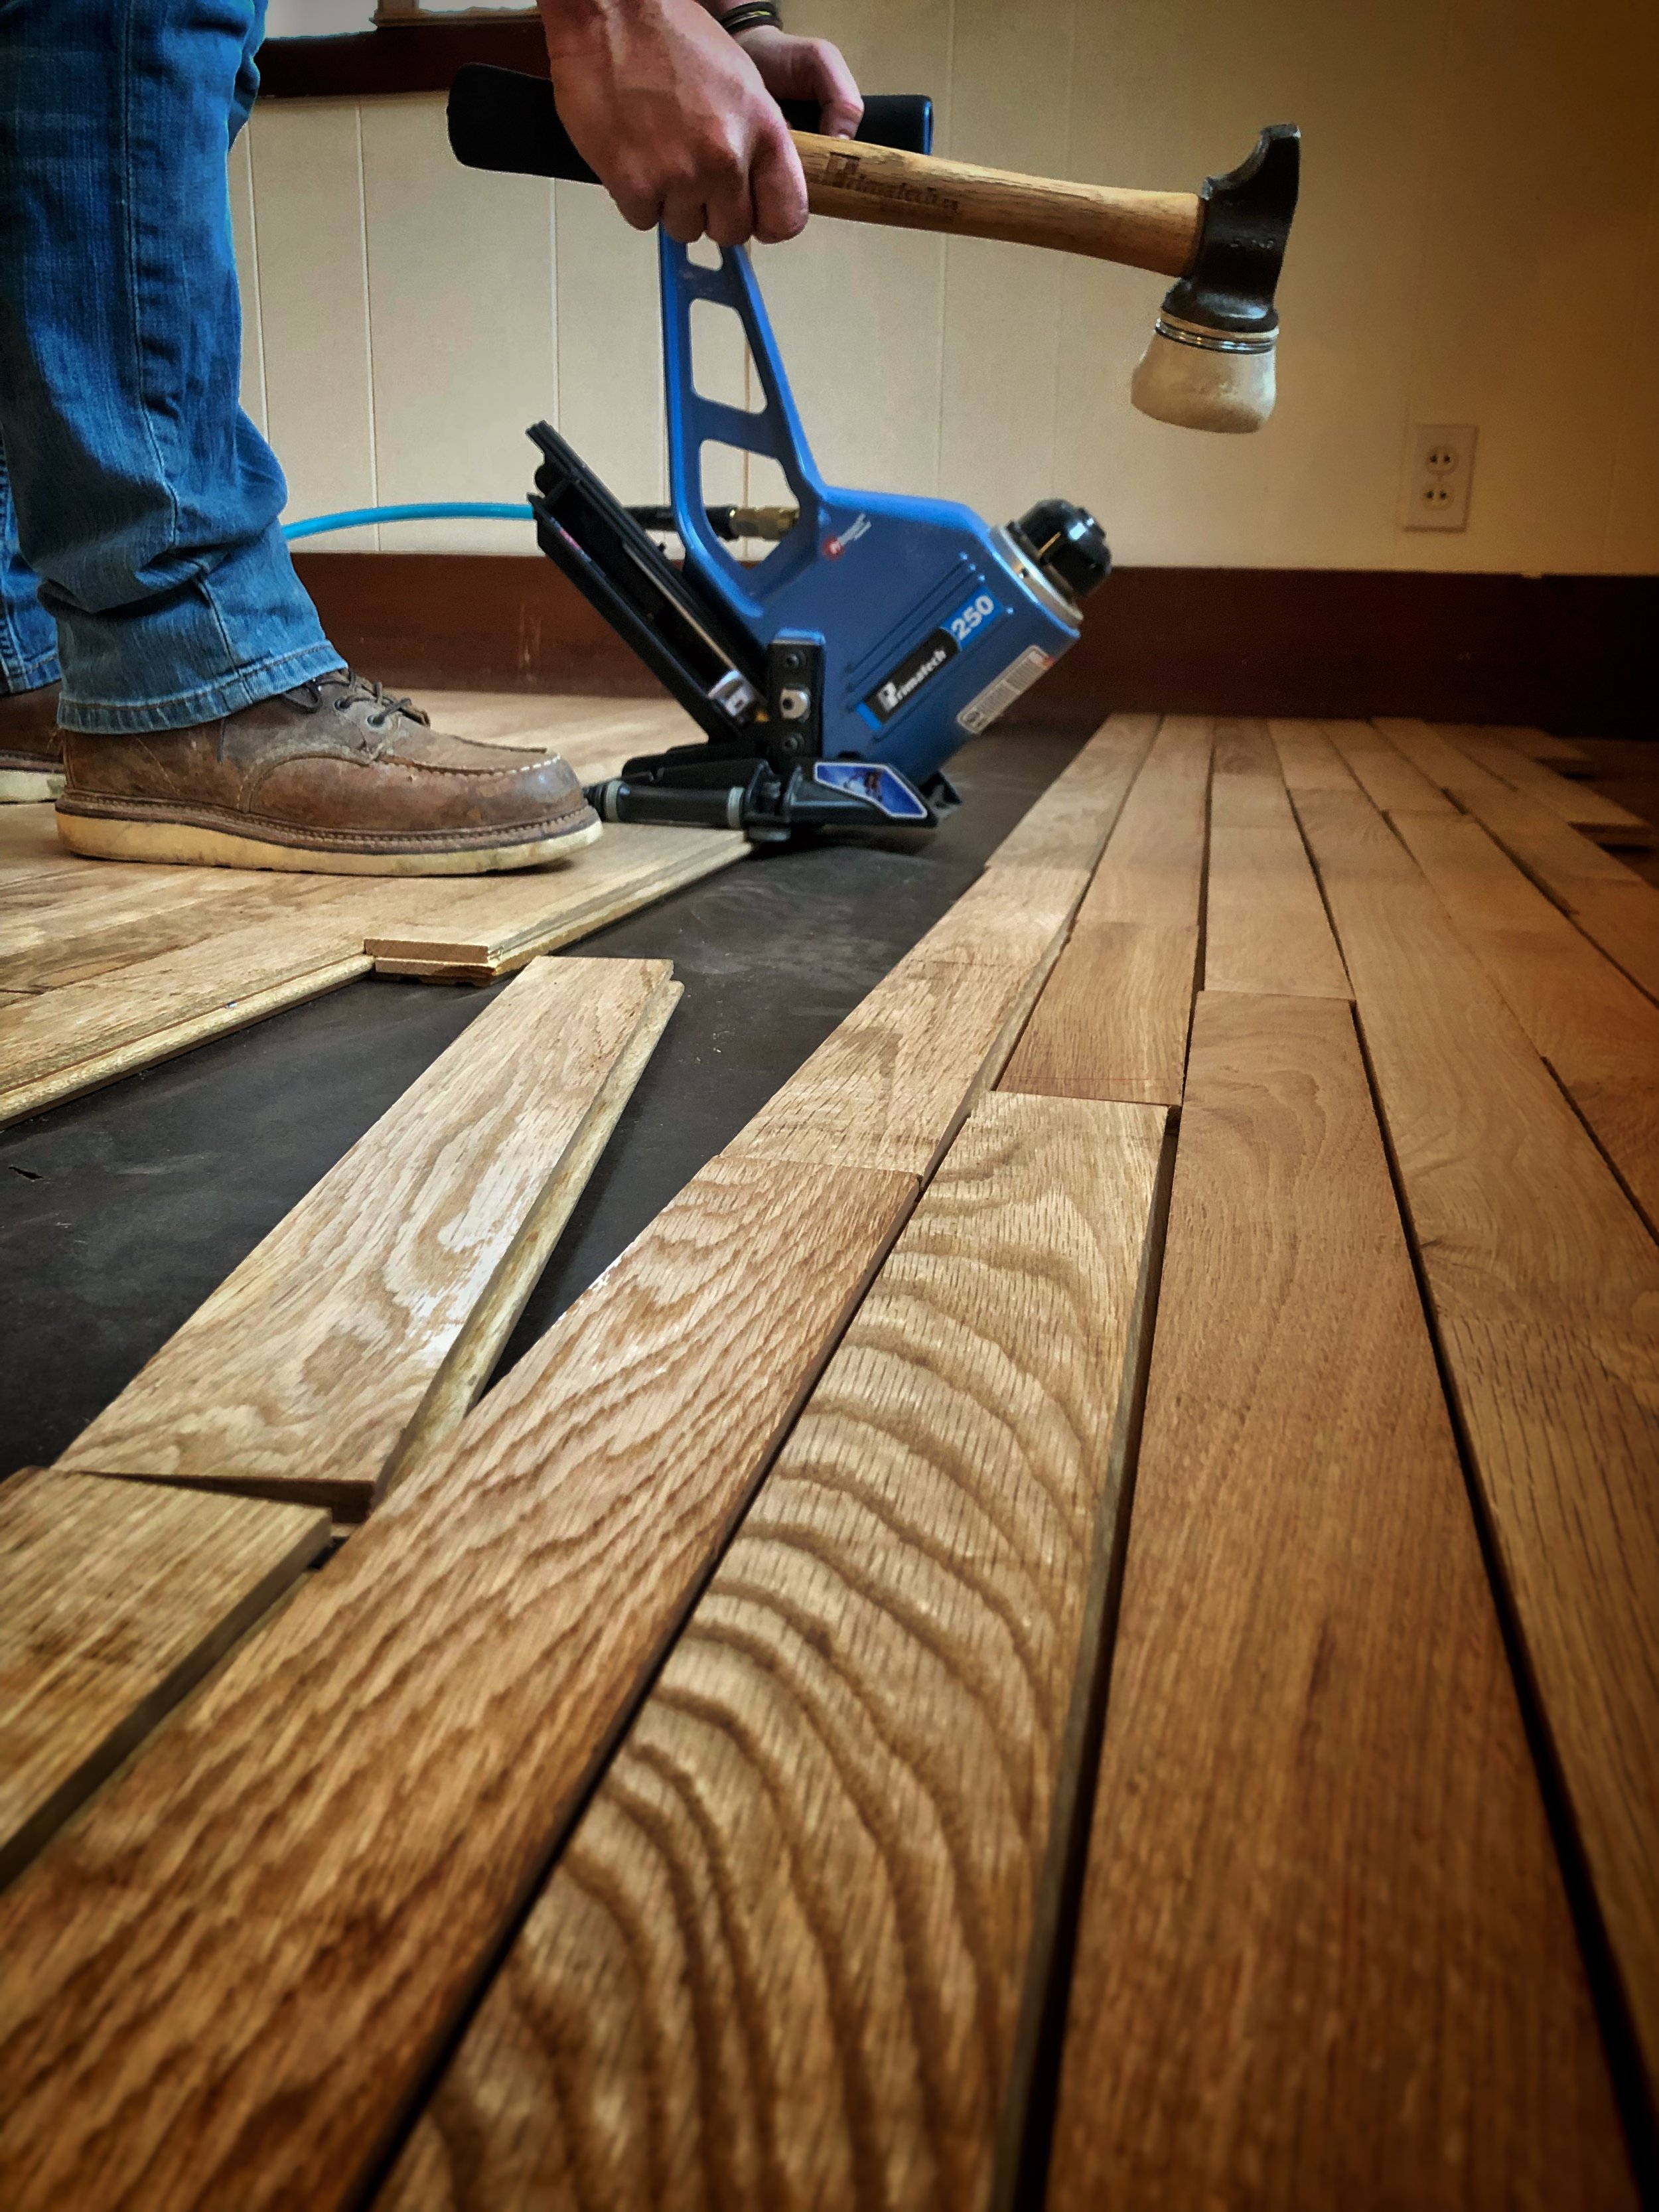
Step 3: Refinishing Process Begins
Most our projects will start on a Monday; our Professional Team will arrive in the morning and will start prepping the area they will be working on.
All furnishings should already be removed from the flooring areas; all electronics and appliances should be removed or covered and protected.
No other trades should be working in the house at the same time, as the flooring will be strictly off-limits from the time the wood is sanded, until the time the last coat of varnish is completely dry.
 |
We use Atomic DCS from Bona to control the amount of dust generated during the sanding process. Our Dust Containment System is a powerful vacuum connected directly to our sanding machines. We manage to control about 85-90% of dust on a typical job. All areas that are not worked on are covered by plastic drop-sheets to protect them from dust that still may escape during the sanding procedures. |
If you are home during this time, please make sure that you are in another area of the house, away from the working crew. The machines are noisy, our guys have ear-protection and masks; they will not be interacting with you during this time. You will also need to keep your pets locked up, or removed from the home, because they will not be comfortable there due to machinery noise.
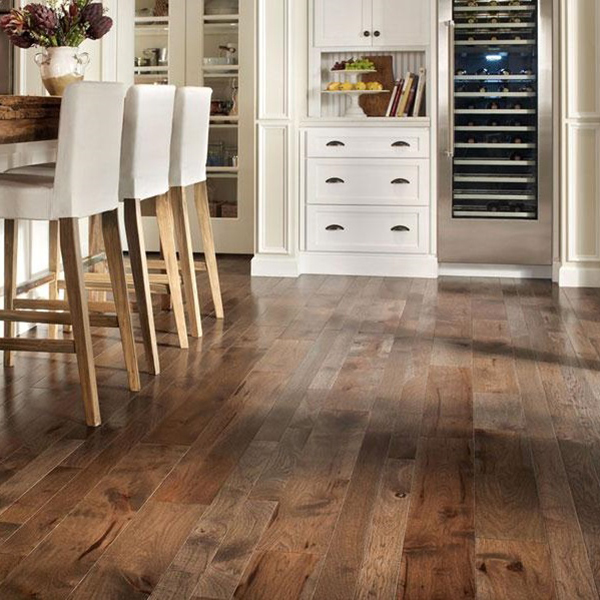
Step 4: Three Stain Samples are Applied to Flooring
|
Once the wood is sanded (several runs with different grit papers), the 3 stain colours that you chose, will be applied to your flooring, so the final decision on colour can be made. This is an important step, as it will determine the overall look of your space, once the dustless hardwood refinishing process is completed and the stain and the finishing coats are applied. what to expect during dPmcardwood refinishing Once Once you choose your stain colour, it is applied to the entire flooring area and allowed to dry. |
 |
Step 5: Finish is Applied
The finish for your flooring is always chosen based on several important factors. Yes you play an important role in this decision too.
If the age and condition of your flooring permits, we will use a Waterborne Finish from Bona; sometimes however we will need to opt to use a Polyurethane, as it will benefit your flooring best.
The details will be explained and you will know why one finish is preferable over the other for your specific project.
Usually 3 coats of varnish will be applied. Each application needs time for the finish to dry. Keep your toes off the floors. No rushing this.
Once the final coat of varnish is applied, you will need to wait at least 6 hours before you can touch the finish; no walking on the floors for at least 12 hours if water based product was used.
Now this is important... no matter how much you want to get your furnishing into this beautiful new room, please wait at least 48 hours before moving sofas and tables in. Don't rush this, unless you want your armoire stuck to your floor. I've done that, trust me... no fun to deal with my own professional who "told me so!". Wait. Just wait, it will be worth it.
Step 6: Work Completion, Cleanup & Photos
Not only we prep the work area, we also make sure that all traces of our presence in your home are gone, once the project is completed.
We may come back to do a quick photoshoot, once your room is set up again and you are beaming with happiness, because your new floors are now the envy of your neighborhood and you can't stop talking about them to your friends and visitors.
Yes, that happens too. Thank you!
Return to Home Page
Visit our Instagram
|
|
|
|
|
|
|
|
|


Hello, I'm Joanna Gerber

Questions? Give me a call at:
705-721-1082

BONA Flooring Preview

DESIGN CONSULTATIONS


|
|
|
|
|
|
|
|
Recent Articles
-
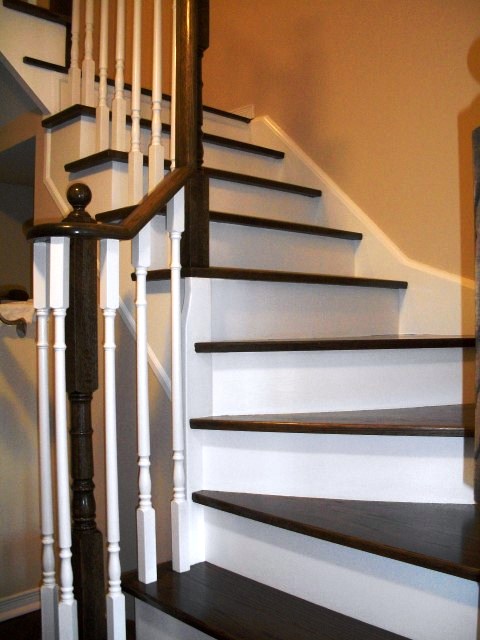
Hardwood Floor Decor and Care Refinishing in Barrie Ontario
Apr 18, 25 10:45 AM
 Explore tips, services for hardwood floor decor and care, refinishing. We offer quality, dustless sanding, wide range of flooring options for your home
 -
About Gerber Hardwood Flooring | Expert Hardwood Services Since 1995
Apr 08, 25 10:23 AM
 Learn about Gerber Hardwood Flooring-trusted expert dustless refinishing, and staircase restoration. Serving Simcoe County since 1995 with quality craftsmanship
 -
How to Remove Hair Dye From Wood Flooring Without Damage
Apr 08, 25 12:52 AM
 Best advice on how to remove hair dye from wood flooring without damage, using techniques that are safe and effective.
 -
Expert Hardwood Flooring Services
Apr 03, 25 03:48 PM
 Get expert hardwood flooring services with Gerber Hardwood Flooring. Dustless refinishing, restoration, staining and repairs for beautiful, long lasting floors!
 -
Gerber Hardwood Flooring Services | Gerber Hardwood Flooring
Apr 01, 25 05:42 PM
 Gerber Hardwood Flooring services - expert hardwood flooring services. Installation, refinishing, and repairs for beautiful, long-lasting floors.
 |
 |
 |


New! Comments
Have your say about what you just read! Leave me a comment in the box below.